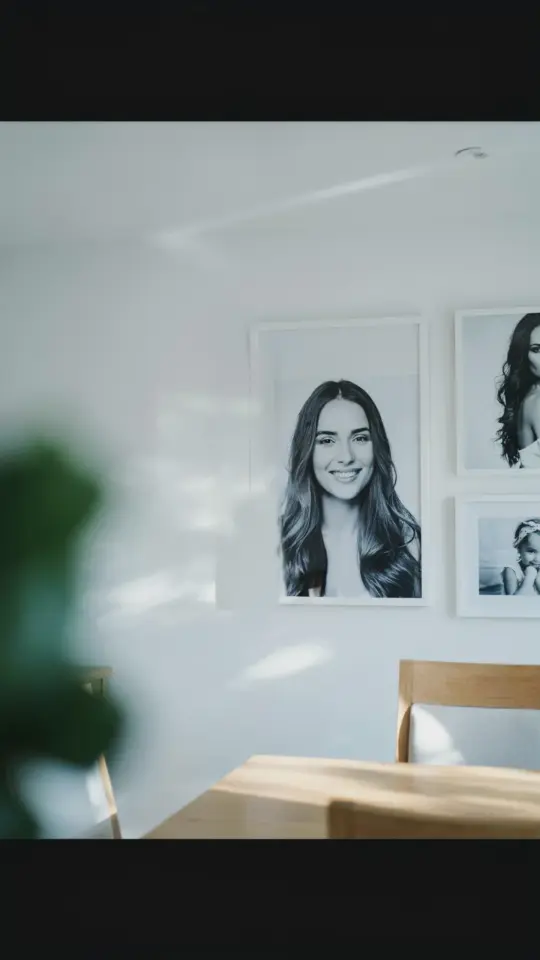
I have always believed that a home should tell your story. That is why I love creative photo gallery wall ideas. They turn plain walls into collections of memories that feel personal and intentional. You do not need a designer or a big budget. You just need a few prints, some frames, and a bit of patience. This guide is for people who have never built a gallery wall before. I will walk you through every step, from picking photos to hanging them without tears.
How to plan a gallery wall layout for beginners
Before you buy any frames, think about where you want your wall to live. A hallway, a staircase, or above a sofa all work well. Measure the space with a tape measure. I like to mark the area with painter’s tape so I can see the actual size.
Next, lay your frames on the floor. Arrange them in different ways until you find a shape that feels balanced. You can go symmetrical, like a grid, or organic, like a cluster. There is no right or wrong. Just move things around until it makes sense to your eyes.
- Grid layout: neat and modern, works best with same-sized frames.
- Salon style: more relaxed, mix of sizes and orientations.
- Linear row: good for a narrow hallway or above a low console table.
Take a photo of your floor arrangement. That way you can reference it when you start hammering nails.
Mix black and white and color prints for a dynamic look
I used to think all photos on a wall should match in style. Then I tried mixing black and white prints with color ones. It changed everything. The contrast adds energy without looking messy.
Start with a few black and white shots of old family moments. Then add a couple of color prints from a recent trip. The mix tells a fuller story. You can also edit your color photos to have a consistent tone, like warm or cool. That helps tie them together.
A personal tip: print all your photos in the same finish, either matte or glossy. Mixing finishes can look accidental, not intentional.
Choose frames that match your room not each other
Do not stress about every frame being identical. In fact, a mix of frame styles often looks more collected and less like a store display. I use a mix of wood, black, and thin metal frames. The common thread is that they all have a similar width. That keeps the wall visually cohesive.
Thrift stores are gold mines for cheap frames. You can spray paint them the same color if you want unity. I did that with a set of old gold frames. A can of matte black spray paint made them look brand new.
For a clean modern look, go with simple thin frames. For a cozier vibe, choose thicker wood frames. The frame should complement the photo, not compete with it.
Create a memory wall on a budget without hurting your walls
Hanging frames can feel scary if you rent or worry about holes. There are easy ways to avoid damage. Use command strips designed for frames. They hold well and come off clean.
If you prefer nails, use small finishing nails. They leave tiny holes that are easy to fill with a bit of spackle. I have moved three times with my gallery wall. Each time I patched the holes in ten minutes.
Another budget trick: print photos at a drugstore or online service. You do not need fancy canvas prints. Good paper prints in cheap frames look just as beautiful. Spend your money on a few key frames and fill the rest with budget finds.
Creative art wall ideas that go beyond family photos
A gallery wall does not have to be only portraits. Add a landscape shot from a hike, a picture of your pet, a quote you love on a card, or even a pressed flower in a frame. These items break up the pattern and keep the wall interesting.
I have a small postcard from a museum and a child’s drawing in my gallery. They get more comments than any photo. The wall becomes a conversation starter, not just decoration.
#gallerywallideas #photowalldecor #creativeartwall #memorywall #homestyling
Leave a Comment