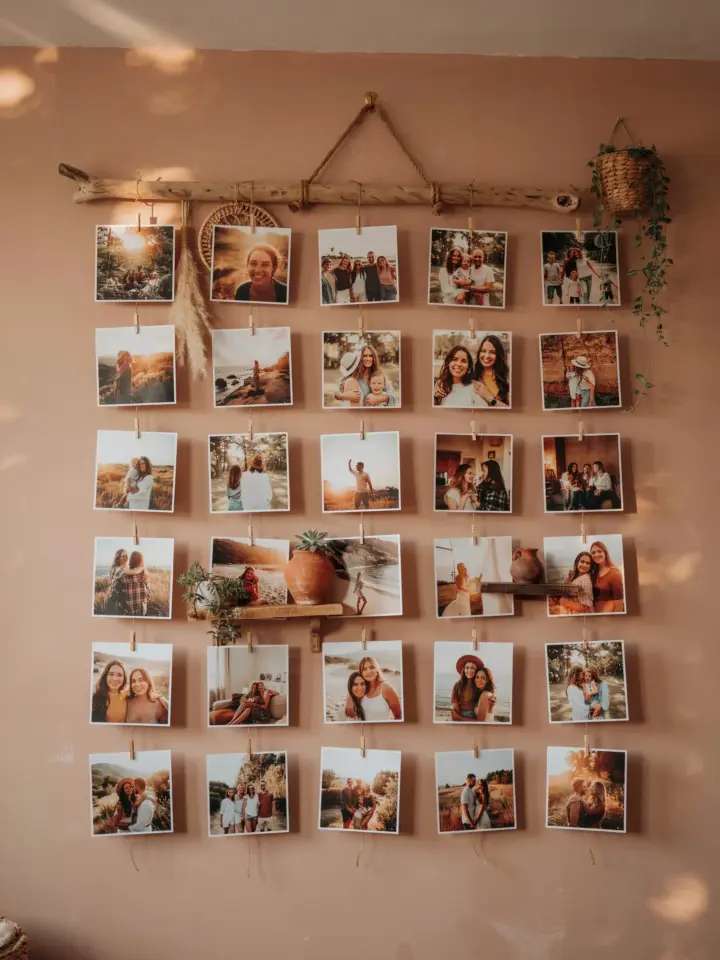
You walk into a living room and your eyes go straight to one wall. Maybe it is a blank white rectangle calling for attention. Or maybe you have seen those perfectly symmetrical gallery walls online and thought they look great but feel intimidating to copy. I have been there too. That is why I love the idea of a gallery wall with asymmetrical frames. It feels modern, collected over time, and forgiving for beginners. You do not need a laser level or a perfect grid. You just need a mix of frames, some photos, and a willingness to play. Let me show you how to build one step by step, even if you have never hung a picture before.
Choosing the Right Asymmetrical Frames for Your Wall Art
The whole point of asymmetry is contrast. You do not want every frame to be the same size or finish. I like to start with two or three different frame styles. For example, a thin black metal frame next to a thick wooden one. Or a ornate gold vintage frame beside a simple white plastic one. The variety creates the curated look you see in design magazines.
Here is a practical tip for beginners: gather more frames than you think you will need. A good rule is to collect at least seven to nine frames. Some can be small, around 5×7 inches. Others can be larger, like 11×14 inches. Mixing sizes is what gives an asymmetrical gallery wall its relaxed feel. Do not worry if some frames are new and some are thrifted. That mix is exactly what we want.
How to Mix Vintage and New Frames for Visual Interest
Vintage frames bring warmth and character. New frames feel crisp and clean. Together they balance each other out. I like to hunt for old frames at flea markets or estate sales. Look for chipped gold or silver finishes. A little wear adds story. Pair those with a matte black frame from a big box store. The contrast stops the wall from looking too matchy.
One mistake I see often is trying to force a color scheme. You do not need all frames to be the same color. Instead, pick a unifying element. Maybe most frames are dark wood or black. Then throw in one bright brass frame as an accent. That single pop keeps the eye moving. If you are unsure, stick to black, white, wood, and one metallic. That four part palette is hard to mess up.
Selecting Photos That Work Best with Asymmetrical Layouts
Black and white photos are my go to for asymmetrical gallery walls. Here is why: color photos compete with the frames. Black and white lets the shapes and textures of the frames shine. Plus, they look classic against any wall color. You can use family portraits, travel shots, or even old botanical prints. Just convert them to grayscale or buy black and white prints online.
If you want to include a few color pieces, keep them small. A tiny 4×6 bright photo can act as a surprise focal point. Another idea is to mix in a small mirror or a fabric piece. That adds texture without adding clutter. Whatever you choose, make sure the images have some breathing room. Too many busy patterns will make the wall feel chaotic instead of curated.
Planning Your Layout Without the Stress
Here is the method I use every time. First, lay all your frames on the floor. Arrange them roughly where you think they might go on the wall. Move them around until the spacing feels natural. Do not measure yet. Just trust your eyes. Asymmetry means gaps can vary. One frame might be two inches from the next, another four inches away. That is fine.
- Start with your largest frame as the anchor. Place it slightly off center, not dead center.
- Add smaller frames around it, keeping an arm’s length distance between edges.
- Let some frames overlap the imaginary grid. A frame placed higher than its neighbor creates the asymmetry we want.
- Step back, squint, and see if the balance feels right. If one side seems too heavy, move a frame to the other side.
When you are happy with the floor layout, take a photo with your phone. That photo becomes your map. Then transfer each frame to the wall using painter’s tape. Tape the paper cutouts in place first if you want to be extra careful. It sounds fussy, but it saves you from extra nail holes.
Tips for Hanging Asymmetrical Frames on Any Wall Size
Small spaces benefit from a tighter grouping. Keep frames within a 24 inch wide zone. Big walls can handle wider spacing. You can even extend the gallery around a corner. The key is to maintain a visual center of gravity. I usually make sure the overall shape of the cluster is roughly a rectangle or an oval. It does not have to be perfect, but
#gallerywall #asymmetricalframes #photowalldesign #wallartideas #homedecor
Leave a Comment