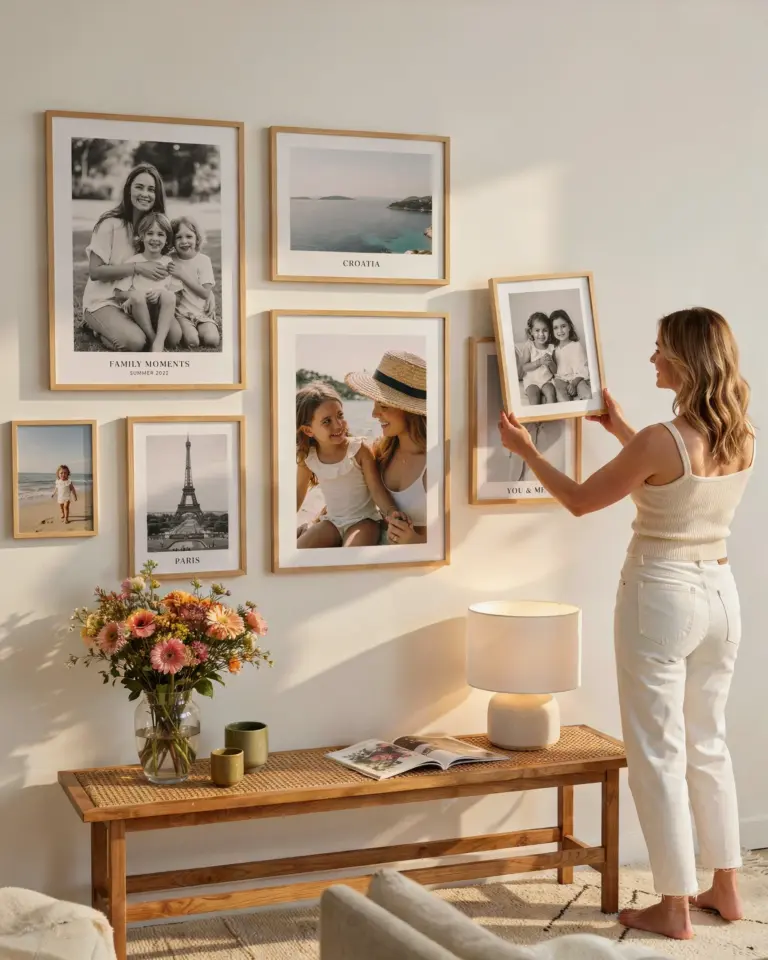
If you have been scrolling through Pinterest looking for gallery wall layout ideas that won’t break your budget, I understand the struggle. The photos look perfect, but the frames often cost a small fortune. I have put together a framed art arrangement guide that works for real homes and real wallets. Whether you prefer neat, balanced rows or a more relaxed scattered look, this guide will help you plan your wall gallery decor without overspending.
Understanding symmetrical gallery walls for a clean look
A symmetrical gallery wall is built on repetition. You use the same frame style, the same mat color, and often the same size of artwork. The layout mirrors itself on both sides of a central axis. This approach works wonderfully in a hallway, above a sofa, or in a dining room where you want a formal, grounded feel.
Budget tip: stick to one frame style from a discount store or thrift shop. Buy the same frame in multiple sizes to keep costs low. You can even paint mismatched thrifted frames the same color for a unified effect. Symmetry does not require expensive custom framing.
Building an asymmetrical gallery wall that feels intentional
An asymmetrical layout uses different frame sizes, shapes, and orientations. It looks relaxed but actually takes careful planning to avoid a chaotic mess. The trick is to balance visual weight, not mirror it. A large piece on one side can be balanced by two or three smaller pieces on the other side.
For a budget approach, mix personal photos with free printable art from sites like Unsplash or the New York Public Library digital collection. Print them at home on matte paper and use affordable clip frames. Asymmetry also lets you include unconventional items like a small mirror, a fabric swatch stretched on a canvas, or a child’s drawing in a simple frame.
How to space frames evenly without measuring every inch
Even spacing matters whether you choose symmetry or asymmetry. A common mistake is leaving too much gap between frames, making the wall look disconnected. I recommend a gap of 2 to 3 inches between frames for most gallery walls. That distance keeps the group reading as a single unit.
- Use painter’s tape to mark the outer rectangle of your layout on the wall first.
- Lay the frames on the floor and adjust spacing until it feels right.
- Cut paper templates the size of each frame and tape them to the wall. Move them around until you are happy.
- For a symmetrical grid, use a level and measure the distance from the center out.
- For asymmetry, step back often and trust your eyes more than a ruler.
If you are on a tight budget, skip the laser level and use a regular bubble level from a dollar store. It does the same job.
Mixing frame sizes and shapes without clashing
Mixing sizes is where many people get nervous, but it is simpler than it looks. Start with one large anchor piece the biggest frame in the group. Build outward from there. Add medium frames, then fill gaps with small pieces. The contrast between sizes creates depth.
I avoid mixing more than three frame colors in one gallery. For example, black, white, and natural wood work together. Gold, silver, and bright red usually compete. On a budget, black frames are the easiest to find secondhand and they match almost any artwork. You can spray paint thrifted frames black in one afternoon for under ten dollars.
Choosing budget friendly wall art that still looks curated
You do not need expensive original paintings. I regularly use postcards from museum gift shops (often a dollar each), pages from vintage books, fabric remnants, and even wallpaper samples. A neat trick is to frame a single piece of wrapping paper with a nice pattern. The paper costs a couple of dollars and looks like a modern print.
Another real world option is to buy digital download bundles on Etsy. Many artists sell sets of 5 to 10 printable art files for a few dollars. Print them at a local copy shop on standard paper or matte cardstock. Trim the white borders yourself with a paper cutter. That is a full gallery wall for the price of a coffee run.
Planning your wall gallery decor around existing furniture
A gallery wall should relate to the furniture below it. If you are hanging art above a couch, the entire group should be about two thirds the width of the couch. For a console table or desk, the gallery can be slightly narrower than the table top.
Budget friendly tip: use furniture you already own as a guide. Place frames on the floor in front of the sofa to mock up the arrangement. Stand back and adjust until the overall shape matches the furniture footprint. Then transfer that arrangement to the wall with paper templates. This method saves you from hammering nails in the wrong spot.
Also consider the height. Eye level for most people is around 57 to 60 inches from the floor to the center of the gallery. For a room where people sit, like a living room, you can hang the art a bit lower so it feels cozy from a seated position.
Tools and tricks for hanging without damaging walls
If you rent your home or just want to avoid patching holes later, use command picture hanging strips for lightweight frames. They hold well on smooth drywall and remove cleanly. For heavier frames, use a regular nail and hammer press the nail at a slight downward angle for better grip.
I also recommend using a simple cardboard template method. Cut a piece of cardboard the size of each frame. Mark where the hanger is on the back. Tape the cardboard to the wall, hammer the nail through the marked spot, then remove the cardboard. This trick ensures the nail lands exactly behind the frame’s hanger every time. No guessing.
Putting together a gallery wall on a budget is completely doable. Focus on one frame style or one color family to keep things cohesive. Use free or cheap art sources and take your time with the layout. A well planned gallery wall makes a room feel personal and finished without costing hundreds of dollars.
If you have a wall that feels empty, grab some paper and a pencil. Sketch out a rough layout, collect a few frames from around the house, and start playing with the arrangement on the floor. You might surprise yourself with what you can create for almost nothing. Want
#gallerywall #framedart #wallartdecor #gallerywallideas #homestyling
Leave a Comment