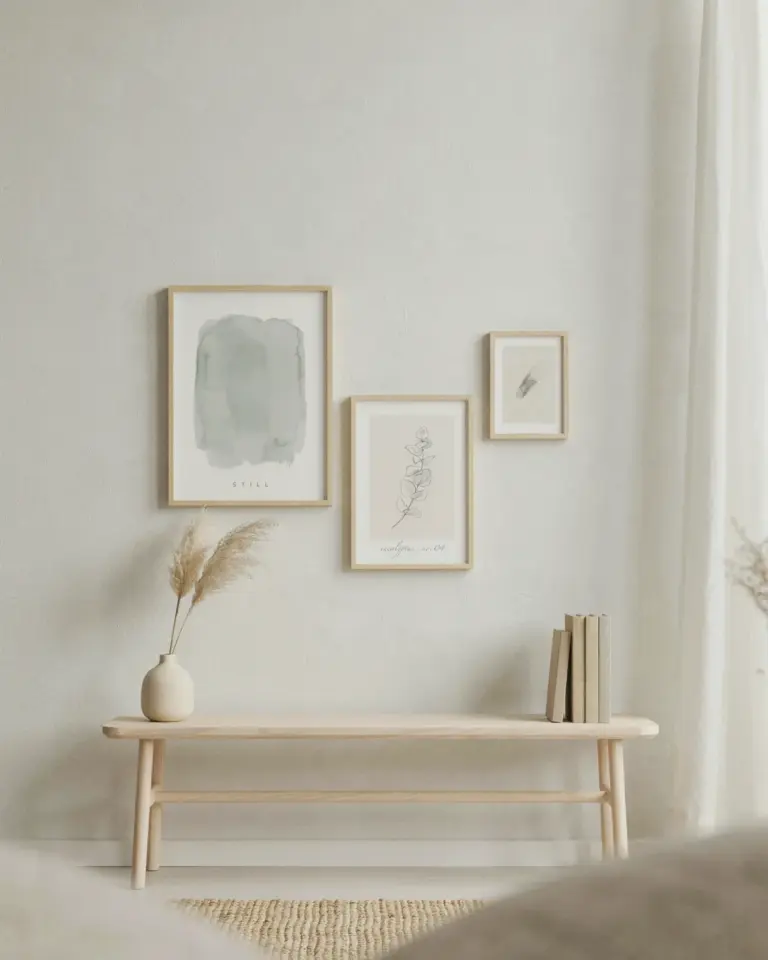
I was standing on my bed, holding a print against the wall, trying to convince myself it looked straight. Not gonna lie, I had zero clue what I was doing. I just knew the giant blank wall above my daughter’s dresser looked sad, and I wanted a girlsroomgallerywall that honestly looked like a professional had styled it. After an hour of misplaced nails and pure regret, I finally figured out a trick that changed the entire project.
Why a Set of 6 Prints Beats a Giant Canvas
Let’s talk about gallery wall prints first. A single canvas is easy, but it’s also kind of flat. It doesn’t tell a story or make a room feel layered.
A set of 6 prints gives you that curated, collected look. You know, the one you see in magazines but never thought you could pull off at home. It’s also incredibly forgiving. If you end up hating one print down the road, you can swap it out without losing your entire focal point.
Plus, when you buy them as a digital download, you control the sizes. You might make one massive and one tiny. That contrast is where the magic happens.
The Digital Download Advantage (And My Printing Mistakes)
Ok so, the digital download part is where you save the real money. You buy the files once, and you literally own them forever. You can print them again for a birthday gift, or reprint them if a frame breaks. It’s the gift that keeps on giving.
I printed mine at a local copy shop, but you can totally do them at home. My first mistake? I used regular printer paper. Look, just don’t do it. Splurge on matte cardstock or even a photo paper sample pack. The texture changes everything.
Honestly, I didn’t realize how much paper quality mattered until I held the good stuff next to the cheap copy paper. It’s night and day. Also, my printer ink ran out because I forgot to switch to grayscale mode for the black-and-white prints. Rookie move. Super annoying.
The Easy Hang Trick: Floor Layout First
This is the exact trick that saved my sanity, and it works for any girls room gallery wall layout. Before you even pick up a hammer, lay all 6 prints out flat on the floor.
Move them around like puzzle pieces. Put the biggest one in the middle. Or maybe off-center if you’re feeling spicy. Play with the spacing until it makes your brain happy.
I used 2 to 3 inches between frames, which looks tight and intentional. Then, here’s the good part: take a picture of this layout on your phone. That photo becomes your blueprint while you’re working. I forgot to do this, and I ended up crawling under my daughter’s bed looking for a lost nail while trying to remember which print went where. Don’t be me.
Hanging the Middle Print First (It’s a Lifesaver)
Here’s the thing about a DIY gallery wall: if you start hanging from the edge, you will end up off-center. I speak from painful experience on this one.
Find your middle print. In my case, it was the prettiest floral illustration in the bunch. Hang that one first. Use a level. Actually, wait. Measure the wall first and mark the true center with a pencil. Then match the center of your print to the center of your wall.
After the middle one is securely up, everything else just falls into place around it. It’s like a puzzle, but you only have five pieces left instead of six. Way less overwhelming.
Nailing the Spacing Without a Measuring Tape
Look, I am not a measuring tape person. I always mess up the math in my head and end up with frames on the floor. So here is the ridiculous trick I used.
I cut a piece of yarn to exactly 3 inches long. Then I held the yarn up next to the frame to eyeball the distance. It sounds completely dumb, but it worked flawlessly. You can also use a painter’s tape roll. Just stick a piece on the wall as a placeholder for where the next frame should go.
The point is to keep your girls room decor looking cohesive. The spacing is what makes a collection of prints look like an intentional installation instead of just a bunch of floating pictures.
Personalizing It With Mix-and-Match Frames
My set of 6 prints came as individual files, so I was free to print them in whatever sizes I wanted. I did a big 12×16, a couple of 8x10s, and the rest in 5×7. That variety adds instant visual interest.
Then came the best part: the frames. I went to a thrift store and bought a mismatched pile of gold, black, and wood frames. I spray painted every single one of them gold.
Ok so, they look so good together. The repetition of the gold ties them together, but the different matting keeps it playful. This is the true secret to personalized girls room wall art. If you don’t want the hassle of thrifting, just buy a pack of basic white frames with matting. White works with literally
Leave a Comment