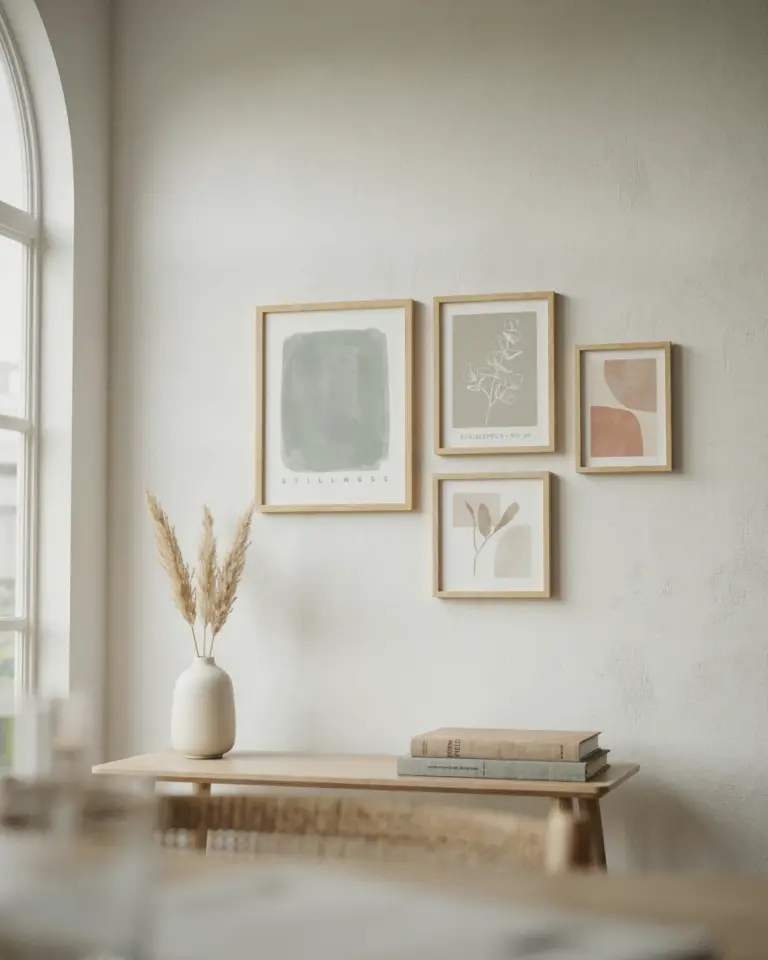
If you have been scrolling through Pinterest looking for girls room decor ideas, you have likely seen those perfectly arranged sets of prints on nursery walls. One popular option is a girls room set of 6 prints that comes as a personalised digital download for nursery decor. This means you get a collection of six matching illustrations, each tailored with your child’s name, and you print them yourself at home or at a shop. It sounds simple, but if you have never bought digital art before, the whole process can feel a little confusing. I want to walk you through everything from start to finish so you feel confident creating a cute gallery wall without any guesswork.
What Exactly Is a Personalised Gallery Wall Print Set?
Think of it as a ready made artwork collection designed specifically for a child’s space. Instead of buying six separate frames and hoping they look good together, you get a coordinated set of prints that already match in style, color palette, and theme. Each print is a separate digital file, usually a high resolution JPEG or PDF, that you download after purchase. The “personalised” part means the seller edits the design to include your child’s name, sometimes a birth date or a short message.
These sets are most often sold by independent designers on Etsy or their own websites. You give them the name and any other details, they send you the files within 24 to 48 hours, and then you are responsible for printing and framing. It is a very flexible system, which is why so many parents choose it over buying pre framed art from a big box store.
How to Personalise Your Digital Download Set
The personalization process is straightforward, but there are a few things to get right the first time. When you order, the shop will ask for the name you want shown on each print. Some sets let you put a different name on every print, which is great if you have siblings or want to include a middle name. Most sets, however, use the same name repeated across all six prints to keep the gallery wall cohesive.
- Check the spelling carefully before you confirm. Digital shops usually do not offer refunds for typos you made.
- Decide on capitalization. Some designs look better in all lowercase, others in standard title case.
- If you want a middle name or initials, confirm the character limit. Not all designs have room for long names.
- Ask the seller if they can swap colors or fonts. Many independent artists offer minor customizations for free or for a small fee.
Once you receive the files, save them to a folder on your computer or cloud drive. Do not rely on the email link forever. Download them right away so you do not lose access.
Where to Print Your Digital Prints (And What to Watch Out For)
This is where beginners often get stuck. You have the files, but where do you actually get them printed? The most common options are local print shops, online print services, or your home printer. For a set of six prints meant to go above a bed or dresser, I recommend using a professional service unless you have a high quality photo printer at home.
Online services like Mpix, Artifact Uprising, or even the photo department at Walmart offer affordable print on demand. You upload the file, pick the size, and choose a paper finish. For nursery wall art, a matte finish usually looks softer and reduces glare. Glossy can show fingerprints and light reflections, which is annoying in a bright room. Also pay attention to the print size. Most digital sets are designed for standard frame sizes such as 5×7 inches or 8×10 inches. Check the product description for the recommended size before you order prints.
If you use a local print shop, bring the file on a USB drive or email it to them. Ask for a test print first if you are unsure about colors. Screens display colors differently than paper, so the pink on your monitor might come out too bright or too dull on actual print.
How to Arrange a Set of 6 Prints for a Cohesive Gallery Wall
Six prints give you a lot of layout options, but the most popular and easiest arrangement is a simple grid of two rows and three columns. This works especially well above a low dresser or a twin bed. You mount each frame with equal spacing, usually about two to three inches apart. Use a level and a measuring tape to keep things straight.
Another option is a linear row of three prints on top and three below, but offset slightly for a more organic feel. If you are feeling adventurous, you can mix the orientation. For example, place two larger portrait prints in the center and four smaller landscape prints around them. The key is to keep the spacing consistent so the eye moves smoothly across the wall.
Before you hammer any nails, lay the prints on the floor in front of the wall and adjust them until the arrangement looks balanced. Take a photo from standing height to see how it will look from a normal viewing angle. This step saves you from drilling extra holes.
Matching the Art to Your Girls Room Decor Theme
The best thing about a personalised print set is that you can match it almost exactly to the existing room colors. Most designers offer a range of palettes: soft pastels, muted earth tones, or even bold primary colors. Think about the bedding, the rug, and the curtains. If your daughter’s room has a lot of lavender and cream, choose a print set that includes those shades rather than hot
#girlsroomdecor #gallerywallprints #personalisedprints #digitaldownload #kidsroomart
Leave a Comment